
Terminations occur at the end of a cable where it connects to a piece of equipment or to another cable. When you terminate a fiber, you select which ports the fibers are plugged into at a termination point. You can also assign important user and status information to terminations which can be used for reporting purposes.
This article will show you the following:
- Accessing the Termination Editor
- Adding a Termination
- Accessing the Port List
Accessing the Termination Editor
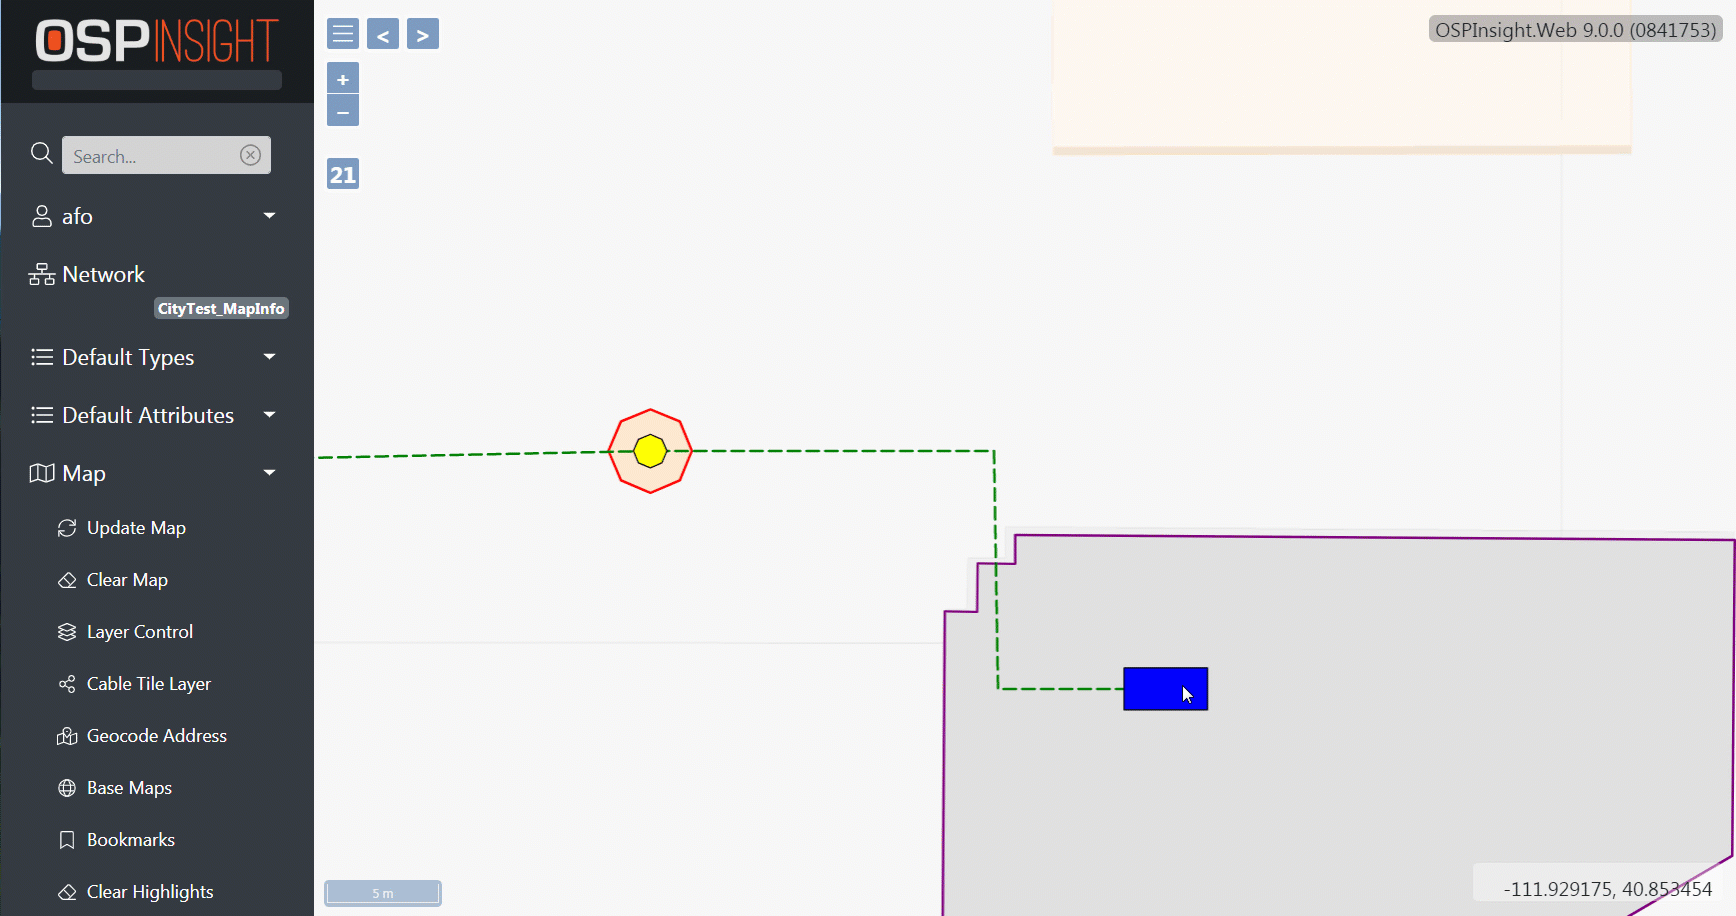
- Right-click termination point
- Hover over termination point name under Object header.
- Select Termination Editor
Adding a Termination
Terminate fibers using the Termination Editor window where you can switch between cable spans if there is more than one associated with a termination point. Use group identifiers to name ports, including originating and ending locations..
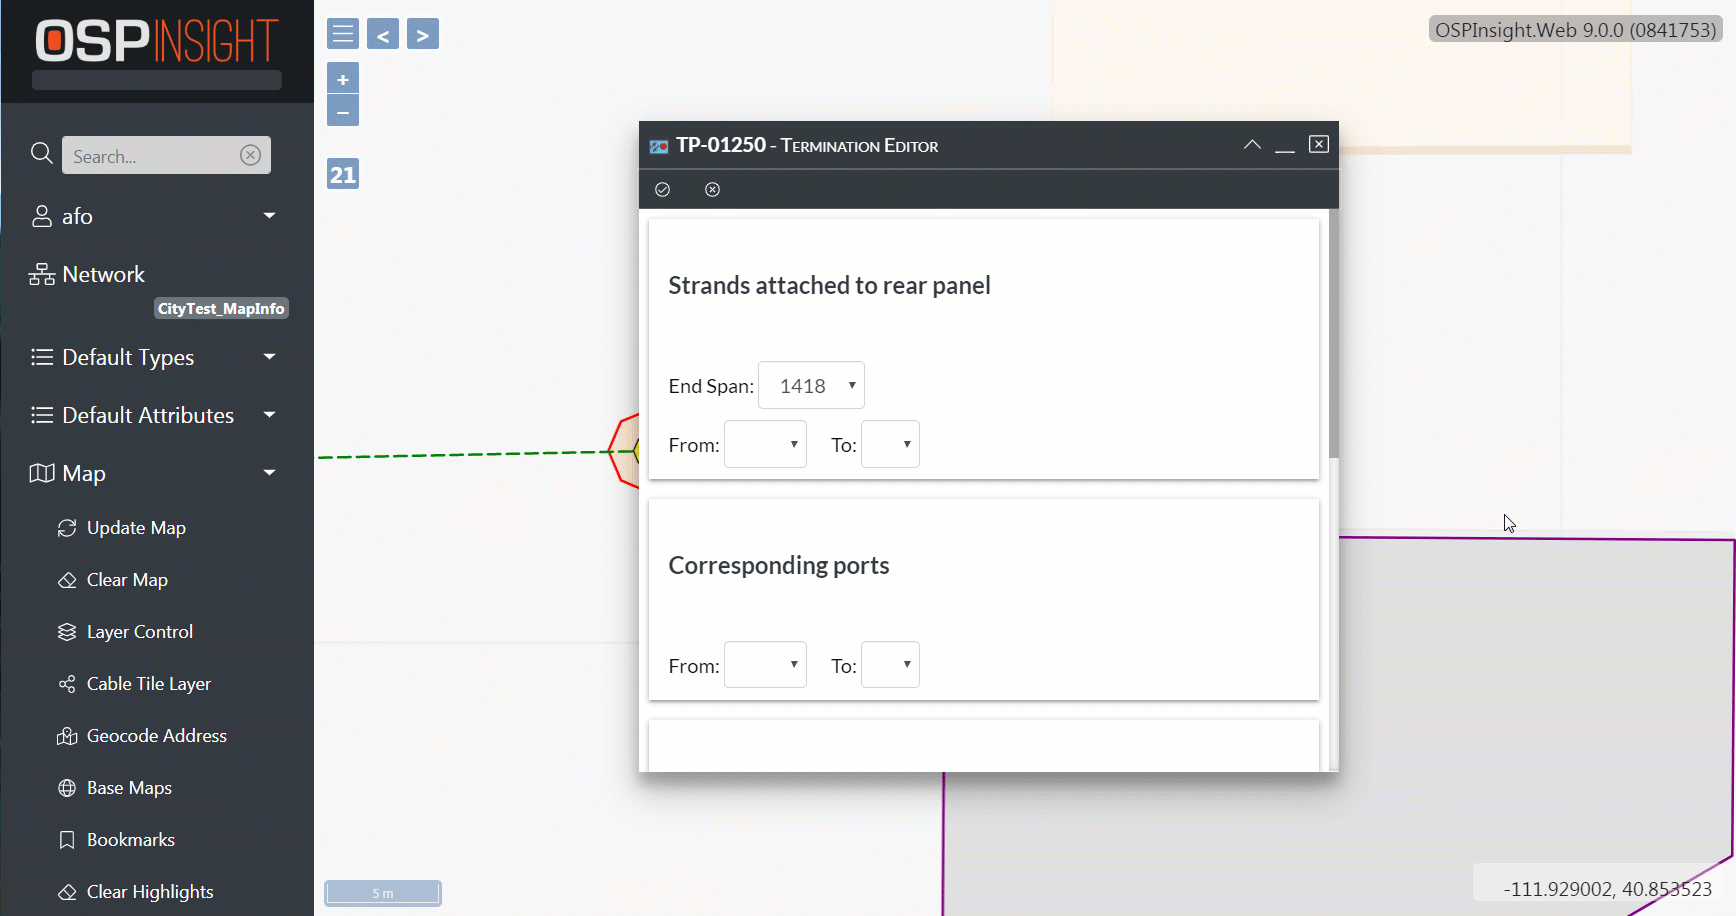
With the Termination Editor open:
- Make changes in Termination Editor:
- Strands attached to rear panel
- Corresponding ports
- Group identifiers for these positions
5. Select Update to terminate fibers.
6. Close Termination Editor window.
Accessing the Port List

- Right-click termination point
- Hover over termination point name under Object header.
- Select Port List
Next Steps
You’ve covered Terminating Fibers. Read on to learn more about:
Splicing Fibers - Connect fibers together at a splice point.
Patching Fibers - Connect incoming and outgoing fibers at patch panels.